

There’s nothing quite as satisfying as biting into a perfectly baked pizza with a crispy yet tender crust. But what happens when your homemade pizza dough turns out tough, chewy, and far from the ideal you were hoping for? Troubleshooting tough and chewy pizza dough can be frustrating, but with the right knowledge and techniques, you can transform your pizza-making experience into one that consistently delivers delicious results. In this comprehensive guide, we’ll explore common mistakes that lead to tough pizza dough and provide expert tips to help you achieve the perfect crust every time.
The Quest for the Perfect Pizza Crust
Whether you’re a seasoned home cook or a beginner experimenting in the kitchen, making pizza from scratch is a rewarding experience. However, one of the most common issues bakers face is dough that’s too tough or chewy. The ideal pizza crust should have a nice balance of crispiness on the outside and a tender, airy interior. But what if your crust turns out more like a brick than the delightful base for your favourite toppings?
Understanding the science behind pizza dough and mastering key techniques can make all the difference. This post will dive deep into the most commonly asked question, “Why is my pizza tough and chewy?” I’ll offer practical solutions to help you troubleshoot and perfect your pizza crust. From over-kneading to improper proofing, I’ll cover it all. By the end of this guide, you’ll be equipped with the knowledge to say goodbye to tough dough and hello to pizza perfection.
The Role of Ingredients in Pizza Dough
Before we jump into troubleshooting, it’s important to understand the role of each ingredient in your pizza dough. The balance and interaction of flour, water, yeast, and salt are critical to achieving the perfect texture and flavour.

1. Flour: The Foundation of Dough
Flour is the backbone of pizza dough. The type of flour you use can significantly impact the texture of your crust. Higher-protein flours, such as bread flour and Tipo 00 flour, contain more gluten-forming proteins, which contribute to a chewier and more elastic dough. This is why these flours are often recommended for pizza making.
Read more about Tipo 00 Flour here.
Buy Tipo 00 flour here.
- Bread Flour: Contains around 12-14% protein, which helps develop a strong gluten network. This leads to a chewy, yet airy crust with good structure.
- Tipo 00 Flour: A finely milled Italian flour with a lower protein content than bread flour, but it’s known for producing a light, tender crust with a slight chew.
2. Water: Hydration and Texture
Water is essential for hydrating the flour and activating the yeast. The hydration level (the ratio of water to flour) determines how sticky, elastic, or soft your dough will be. A higher-hydration dough tends to be softer and more pliable, while lower hydration can lead to a stiffer dough that’s harder to work with.
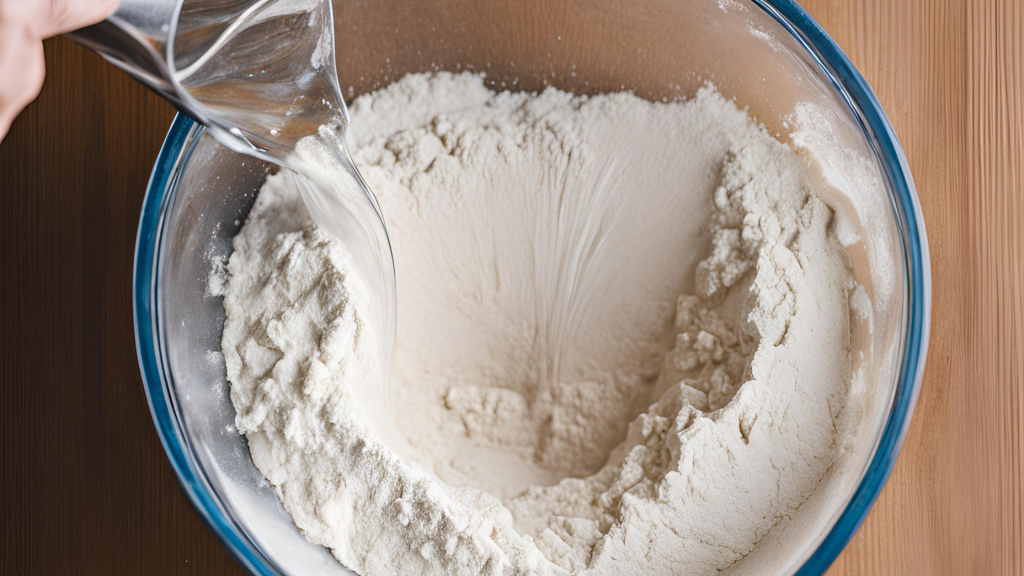
- Hydration Level: For pizza dough, a typical hydration level ranges from 60-70%. A well-hydrated dough is easier to stretch and results in a more open crumb structure, contributing to a tender crust.
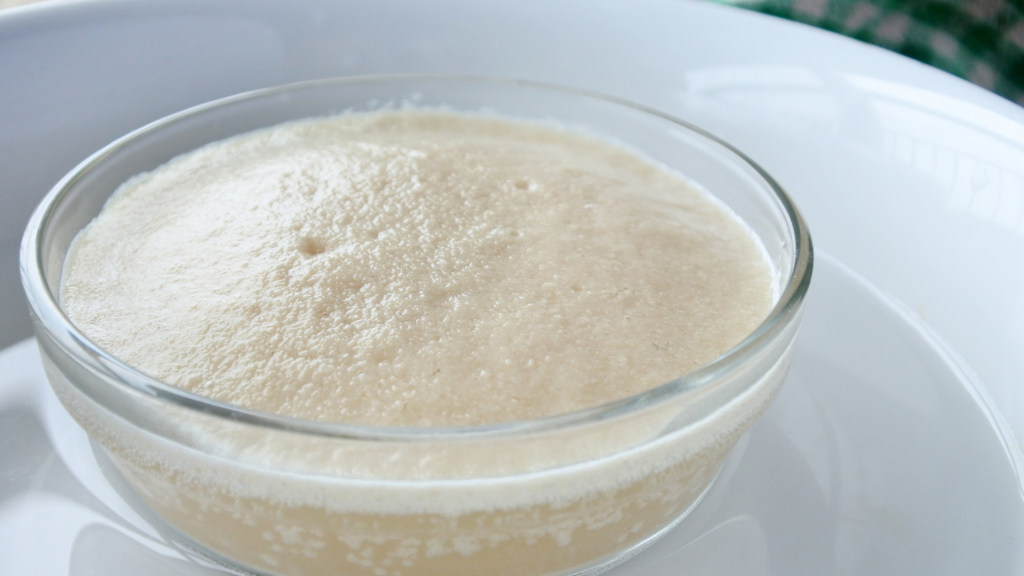
3. Yeast/ Sourdough Starter: The Leavening Agent
Yeast or an active sourdough starter is responsible for fermenting the dough, producing carbon dioxide that causes the dough to rise and develop flavor. Proper fermentation is key to achieving a light, airy texture in your pizza crust.
- Active Dry Yeast vs. Instant Yeast: Both types of yeast work well for pizza dough, but instant yeast tends to be more convenient as it doesn’t require activation in water before use. However, active dry yeast can develop a slightly more complex flavour due to the activation process.
- With a sourdough starter, the fermentation process is slower, so be prepared for a longer rise. Typically, after mixing the dough, you’ll want to let it bulk ferment for 4-6 hours at room temperature, followed by a cold fermentation in the refrigerator for 12-24 hours, or even up to 48 hours for more flavor development.
4. Salt: Enhancing Flavor and Strength
Salt plays a crucial role in regulating yeast activity, strengthening the gluten network, and enhancing the overall flavor of the dough. While it’s a small ingredient, its impact is significant.

- The Right Amount: Use about 2% salt relative to the flour weight. Too much salt can inhibit yeast activity, while too little can lead to bland dough.
Why is my pizza tough and chewy?
Now that we’ve covered the basic ingredients, let’s explore the common causes of tough and chewy pizza dough. Understanding these pitfalls will help you troubleshoot and make the necessary adjustments for better results.
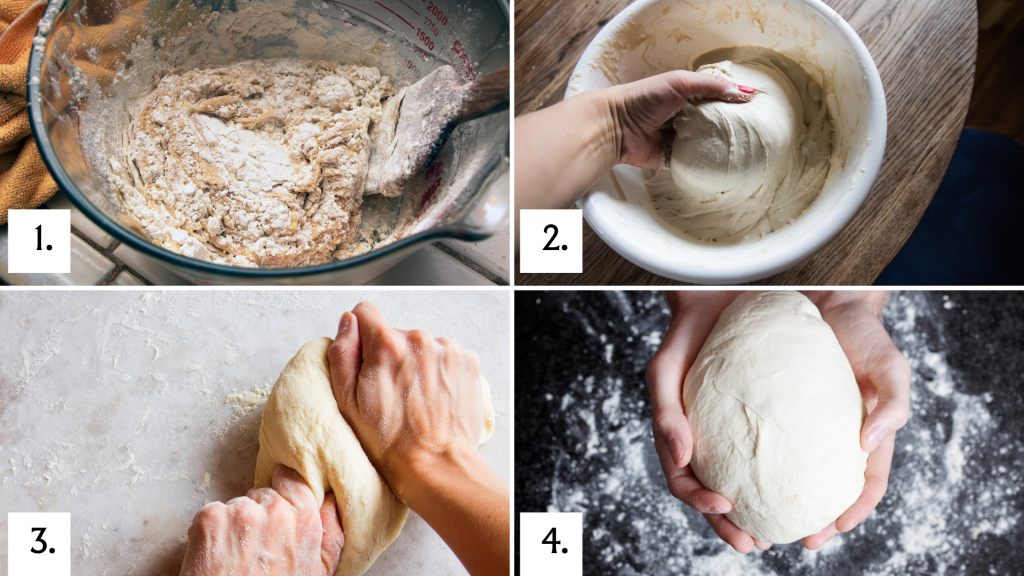
1. Over-Kneading: The Gluten Dilemma
Understanding the Role of Kneading: Kneading is essential for developing gluten, the protein network responsible for the elasticity and structure of the dough. When you knead, you’re aligning the gluten strands, allowing the dough to stretch and rise properly. However, there’s a fine line between developing just the right amount of gluten and overworking it.
What Happens When You Over-Knead: When you over-knead dough, you push the gluten development beyond the ideal point. The dough becomes excessively elastic, making it difficult to roll out or stretch into a pizza shape. As the gluten becomes overdeveloped, it also becomes tighter, leading to a denser, tougher crust when baked.
How to Avoid Over-Kneading?
Knead Just Until Smooth and Elastic: Typically, dough should be kneaded for about 8-10 minutes by hand or 5-7 minutes with a stand mixer on medium speed. The dough should feel smooth, slightly tacky, and elastic when it’s ready.
Use the Windowpane Test: Take a small piece of dough and gently stretch it between your fingers. If it forms a thin, translucent “windowpane” without tearing, the dough is sufficiently kneaded.
Give the Dough a Rest: If you’re concerned about over-kneading, let the dough rest for 10-15 minutes during kneading. This resting period allows the gluten to relax, making the dough easier to shape and less prone to becoming tough.
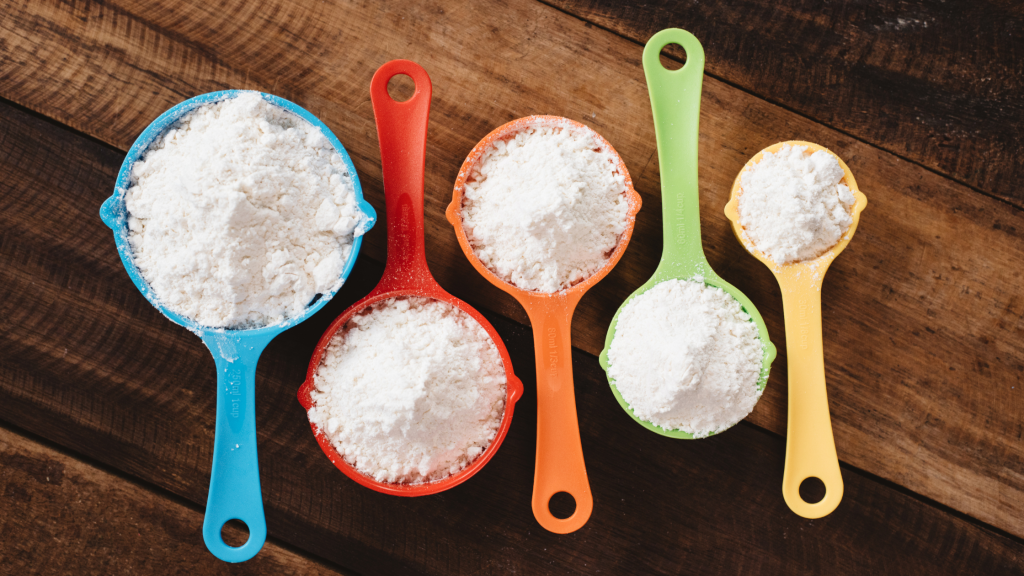
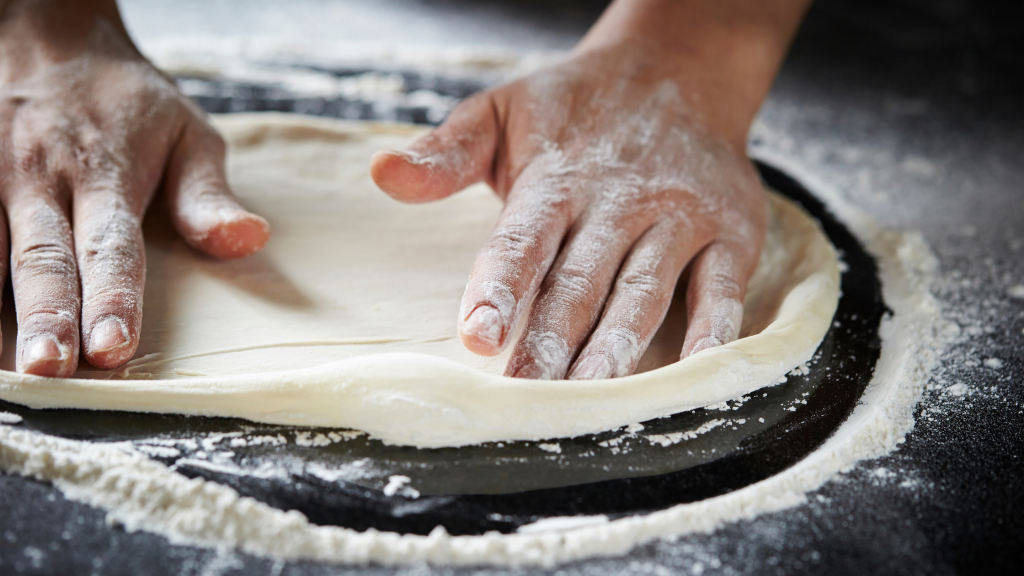
2. Too Much Flour: The Density Dilemma
Understanding Flour’s Role: Flour is the foundation of any dough, providing structure and strength. However, using too much flour can have a counterproductive effect, leading to a dense, heavy crust. It’s easy to overestimate the amount of flour needed, especially when dealing with sticky dough.
What Happens When You Add Too Much Flour: When you add excessive flour, it disrupts the moisture balance in the dough, leading to a dry, tough texture. The dough becomes harder to work with, and the resulting crust lacks the lightness and chewiness that make a great pizza.
How to Avoid Adding Too Much Flour?
Measure Flour Correctly: Use a kitchen scale to measure your flour accurately. If you’re using cups, lightly spoon the flour into the measuring cup and level it off with a knife—avoid packing it down.
Incorporate Flour Gradually: Start with the recommended amount of flour and only add more if the dough is too sticky to handle. Remember, a slightly sticky dough is better than a dry one.
Use Wet Hands or Oil: Instead of adding more flour, try handling sticky dough with wet hands or lightly oiling your hands and work surface. This can help you manage the dough without drying it out.
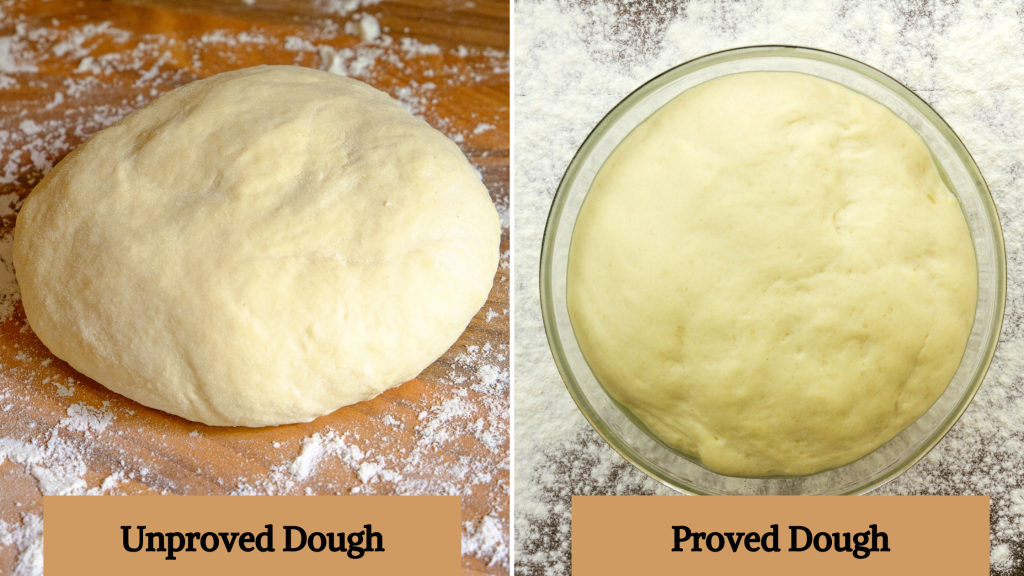
3. Insufficient Proofing: The Rise and Fall of Dough
Understanding Proofing: Proofing, or allowing the dough to rise, is a critical step in developing flavour and texture. During proofing, yeast ferments the sugars in the dough, producing carbon dioxide that gets trapped in the gluten network, causing the dough to expand. This process not only gives the dough its airy texture but also enhances its flavour.
What Happens When Dough Isn’t Proofed Enough: If the dough is under-proofed, it doesn’t have enough time to develop the necessary gas bubbles, leading to a dense, compact crust. The dough may rise slightly during baking, but the texture will be heavy and chewy rather than light and airy.
How to Ensure Proper Proofing?
Give It Time: Allow your dough to rise until it has doubled in size. This can take anywhere from 1-2 hours at room temperature. If you’re not in a hurry, you can proof the dough slowly in the refrigerator overnight. This not only gives the dough time to rise but also develops a richer flavour.
Check the Temperature: Dough proofs best in a warm, draft-free environment. If your kitchen is cool, you can create a warm environment by placing the dough in an oven with just the light on or near a warm surface.
Use the Finger Test: Gently press your finger into the dough; if the indentation springs back slowly, the dough is ready. If it springs back quickly, it needs more time. If it doesn’t spring back at all, it may be over-proofed, which can also lead to a dense crust.
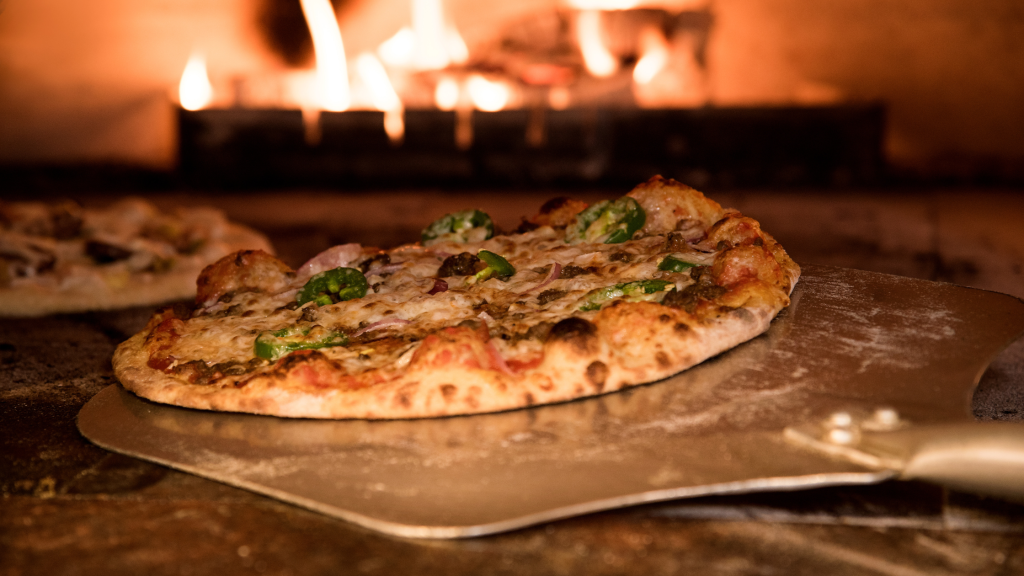
4. Incorrect Baking Temperature: The Oven Factor
Understanding the Importance of Temperature: The temperature at which you bake your pizza plays a crucial role in determining the final texture of your crust. A properly preheated, hot oven ensures that the crust bakes quickly, developing a crispy exterior while keeping the interior soft and airy.
What Happens When the Oven Isn’t Hot Enough: If your oven isn’t hot enough, the dough bakes slowly, causing the moisture in the dough to evaporate before the crust has a chance to set. This results in a tough, dry crust that lacks the desired crispy-tender balance.
How to Bake at the Right Temperature?
Preheat the Oven Thoroughly: Preheat your oven to the highest temperature possible—usually around 475°F to 500°F (245°C to 260°C). Allow the oven to preheat for at least 30 minutes to ensure even heat distribution.
Buy an Oven Thermometer here.
Use a Pizza Stone or Steel: If you’re serious about your pizza, invest in a pizza stone or steel. These tools retain heat and help create a crisp, evenly baked crust. Place the stone or steel in the oven during preheating, and then slide your pizza onto it using a peel.
Buy Pizza Stone here.
Monitor the Bake Time: Pizza bakes quickly, often in just 8-12 minutes. Keep a close eye on your pizza as it bakes to avoid overcooking, which can result in a tough crust.
Expert Tips for Achieving the Perfect Pizza Crust
Now that we’ve covered the common causes of tough pizza dough, here are some expert tips to help you consistently achieve a perfect crust.
1. Use a High-Hydration Dough
A higher hydration dough (65-70% water) tends to produce a softer, more pliable crust. It can be a bit trickier to work with, but the results are worth it. The higher water content allows for more steam during baking, creating an open crumb structure and a tender bite.
2. Opt for a Long, Cold Fermentation
Cold fermentation (letting the dough rise slowly in the refrigerator for 24-48 hours) allows the dough to develop complex flavours and a tender, airy texture. This method also makes the dough easier to handle and less likely to overproof.
3. Embrace the Stretch and Fold Method
Instead of traditional kneading, try the stretch and fold method. This technique involves gently stretching the dough and folding it over itself several times during the initial stages of fermentation. This helps develop gluten without overworking the dough, leading to a more tender crust.
4. Don’t Overload with Toppings
Less is more when it comes to pizza toppings. Overloading your pizza with too many toppings can weigh down the dough, leading to a soggy or undercooked crust. Stick to a few well-balanced toppings and avoid piling them on too thickly.
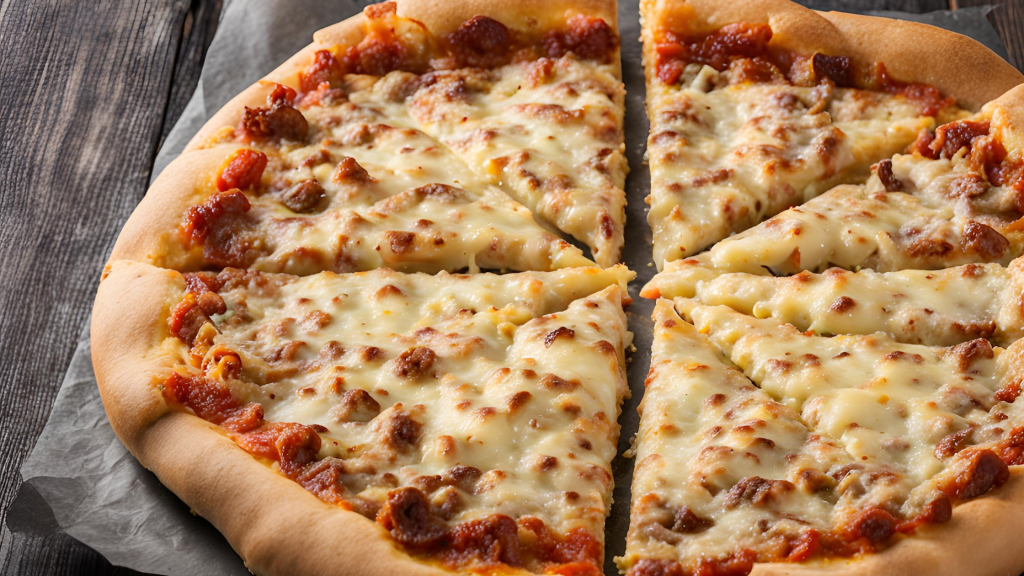
Conclusion: Say Goodbye to Tough Dough
Making pizza dough from scratch is a journey of trial and error, but with the right knowledge and techniques, you can achieve a perfect crust every time. By understanding the role of each ingredient, avoiding common pitfalls, and embracing expert tips, you’ll be well on your way to pizza-making mastery. Whether you’re making a classic Margherita, a loaded meat lover’s pie, or experimenting with gourmet toppings, the perfect crust is within your reach. So next time you roll out that dough, remember these tips, and get ready to enjoy a pizza that’s crispy, tender, and utterly delicious.
Happy Baking!
Looking to make pizza without yeast or a sourdough starter? Check out this post for an easy no-yeast pizza recipe you can make at home.